DISCLAIMER: Although I’ve tried to make this design as simple as possible, please only print and attempt this if you know what you’re doing. Batteries and electronics can be dangerous to play with. There is always a risk of damaging the camera or yourself.
If you’ve got a bunch of Sony NP-F batteries lying around and don’t want to spend more £$€ on new Canon BP’s, you can make your own low-cost, and low-profile adapter using a few cheap parts (and some 3D printing).
Ingredients
Aside from the 3D-printed designs linked below, you’ll need the following:
Nickel Strips (if you can find these pre-cut to 3mm width then even better)
2.5mm Banana Plugs (these seem impossible to find. I’ve linked the ones I’ve used)
And that’s pretty much it! I’ve made the design solder-less, but you can choose to solder parts if you prefer.
The 3D Files
There are 2 files here, one’s the main adapter which can be printed without supports (on an Anycubic Mega-S, anyway), and the other is a small cap to cover the contacts.
Last updated on 8th December, 2020

Step 1
Once printed, you’ll want to cut the nickel piece so it’s 3mm wide. You won’t have to worry about the length at this point.
Then, trim one of the ends a bit so it’s around 2mm wide and almost 10mm long until it reaches the thicker part. This is so it can fit into the slit on the underside.
Feed the nickel through the top of the mount and through the underside, wrapping it around the contact area so it feeds back into the slit. You can use tweezers or a thin screwdriver to help bend the nickel once it’s inside, securing it in place. For extra security, use some superglue or a gluegun to secure it on the inside.
Repeat this for the other side.

Step 2
Now that you’ve got the nickel pieces secured in place, you’ll want to trim them. You have 2 options for this:
1/ Trim them so they finish a few mm from the top edge of the mount. You can then use some tweezers to crush the end – making it thin enough to fit into the contact area of the banana plug.
2/ Trim them so they’re around 10mm from the top edge of the mount. This way you can bend the nickel a few times so it bends on itself, making the contact point beneath the banana plug a bit thicker. If you can, you could bend it again so there’s a bit of nickel underneath the banana plug as well.
Either way, make sure the contact to the banana plug is secure, soldering it if you have that option available to you.


Step 3
With both plugs nicely secured and in place, print off the cover and stick it in place. Superglue it in for extra security if you’d like.
Known Issues
You will NOT be able to get a percentage readout in the camera using this adapter. Some batteries have a LED capacity checker on the back, but for those that don’t, you’ll need to check the voltage in the camera.
Ignore the initial, messy 3-piece prototype in this pic…

Battery Options
I’ve made a quick table of the Sony NP-F’s I’ve tried on the Komodo. The general rule of thumb for estimating the duration is to divide the wh by 25.
I’ve not tried anything smaller than the 38wh’s, so I can’t comment on how well they’d work, if at all. The main issue seems to be whether the battery can provide enough amps to the camera.

| Brand (left to right) | Capacity | Price per battery | Est. Run Time |
| Unbranded NP-F750 Came with Atomos Shogun Inferno kit |
38.48wh | £15 (estimate) | 1h 30 min |
| Unbranded NP-F960/NP-F970 Came with Aputure Tri-8 Kit |
53.28wh | £20 (estimate) | 2h 15min |
| Pixel NP-F970 | 62.10wh | £30 | 2h 25 min |
| Baxxtar Pro Plus NP-F970 | 75.60wh | £55 | 3h |
The Unbranded 53.28 battery from my Aputure kit was the only one I timed, and that lasted 2 hours and 15 mins until the voltage had dropped to 6.1v and I decide to turn the camera off.
I have yet to run down the battery until the camera automatically shuts down, but I’m assuming it must be near the 5.9 – 6.0V range.
I’ll keep updating this page with new info when I can. If you found this useful, feel free to donate using the paypal link below. If you’re having trouble finding the correct parts, you could probably replace the banana plugs with other ~2.5mm connectors, and change the 3D design to accomodate those.
![]()

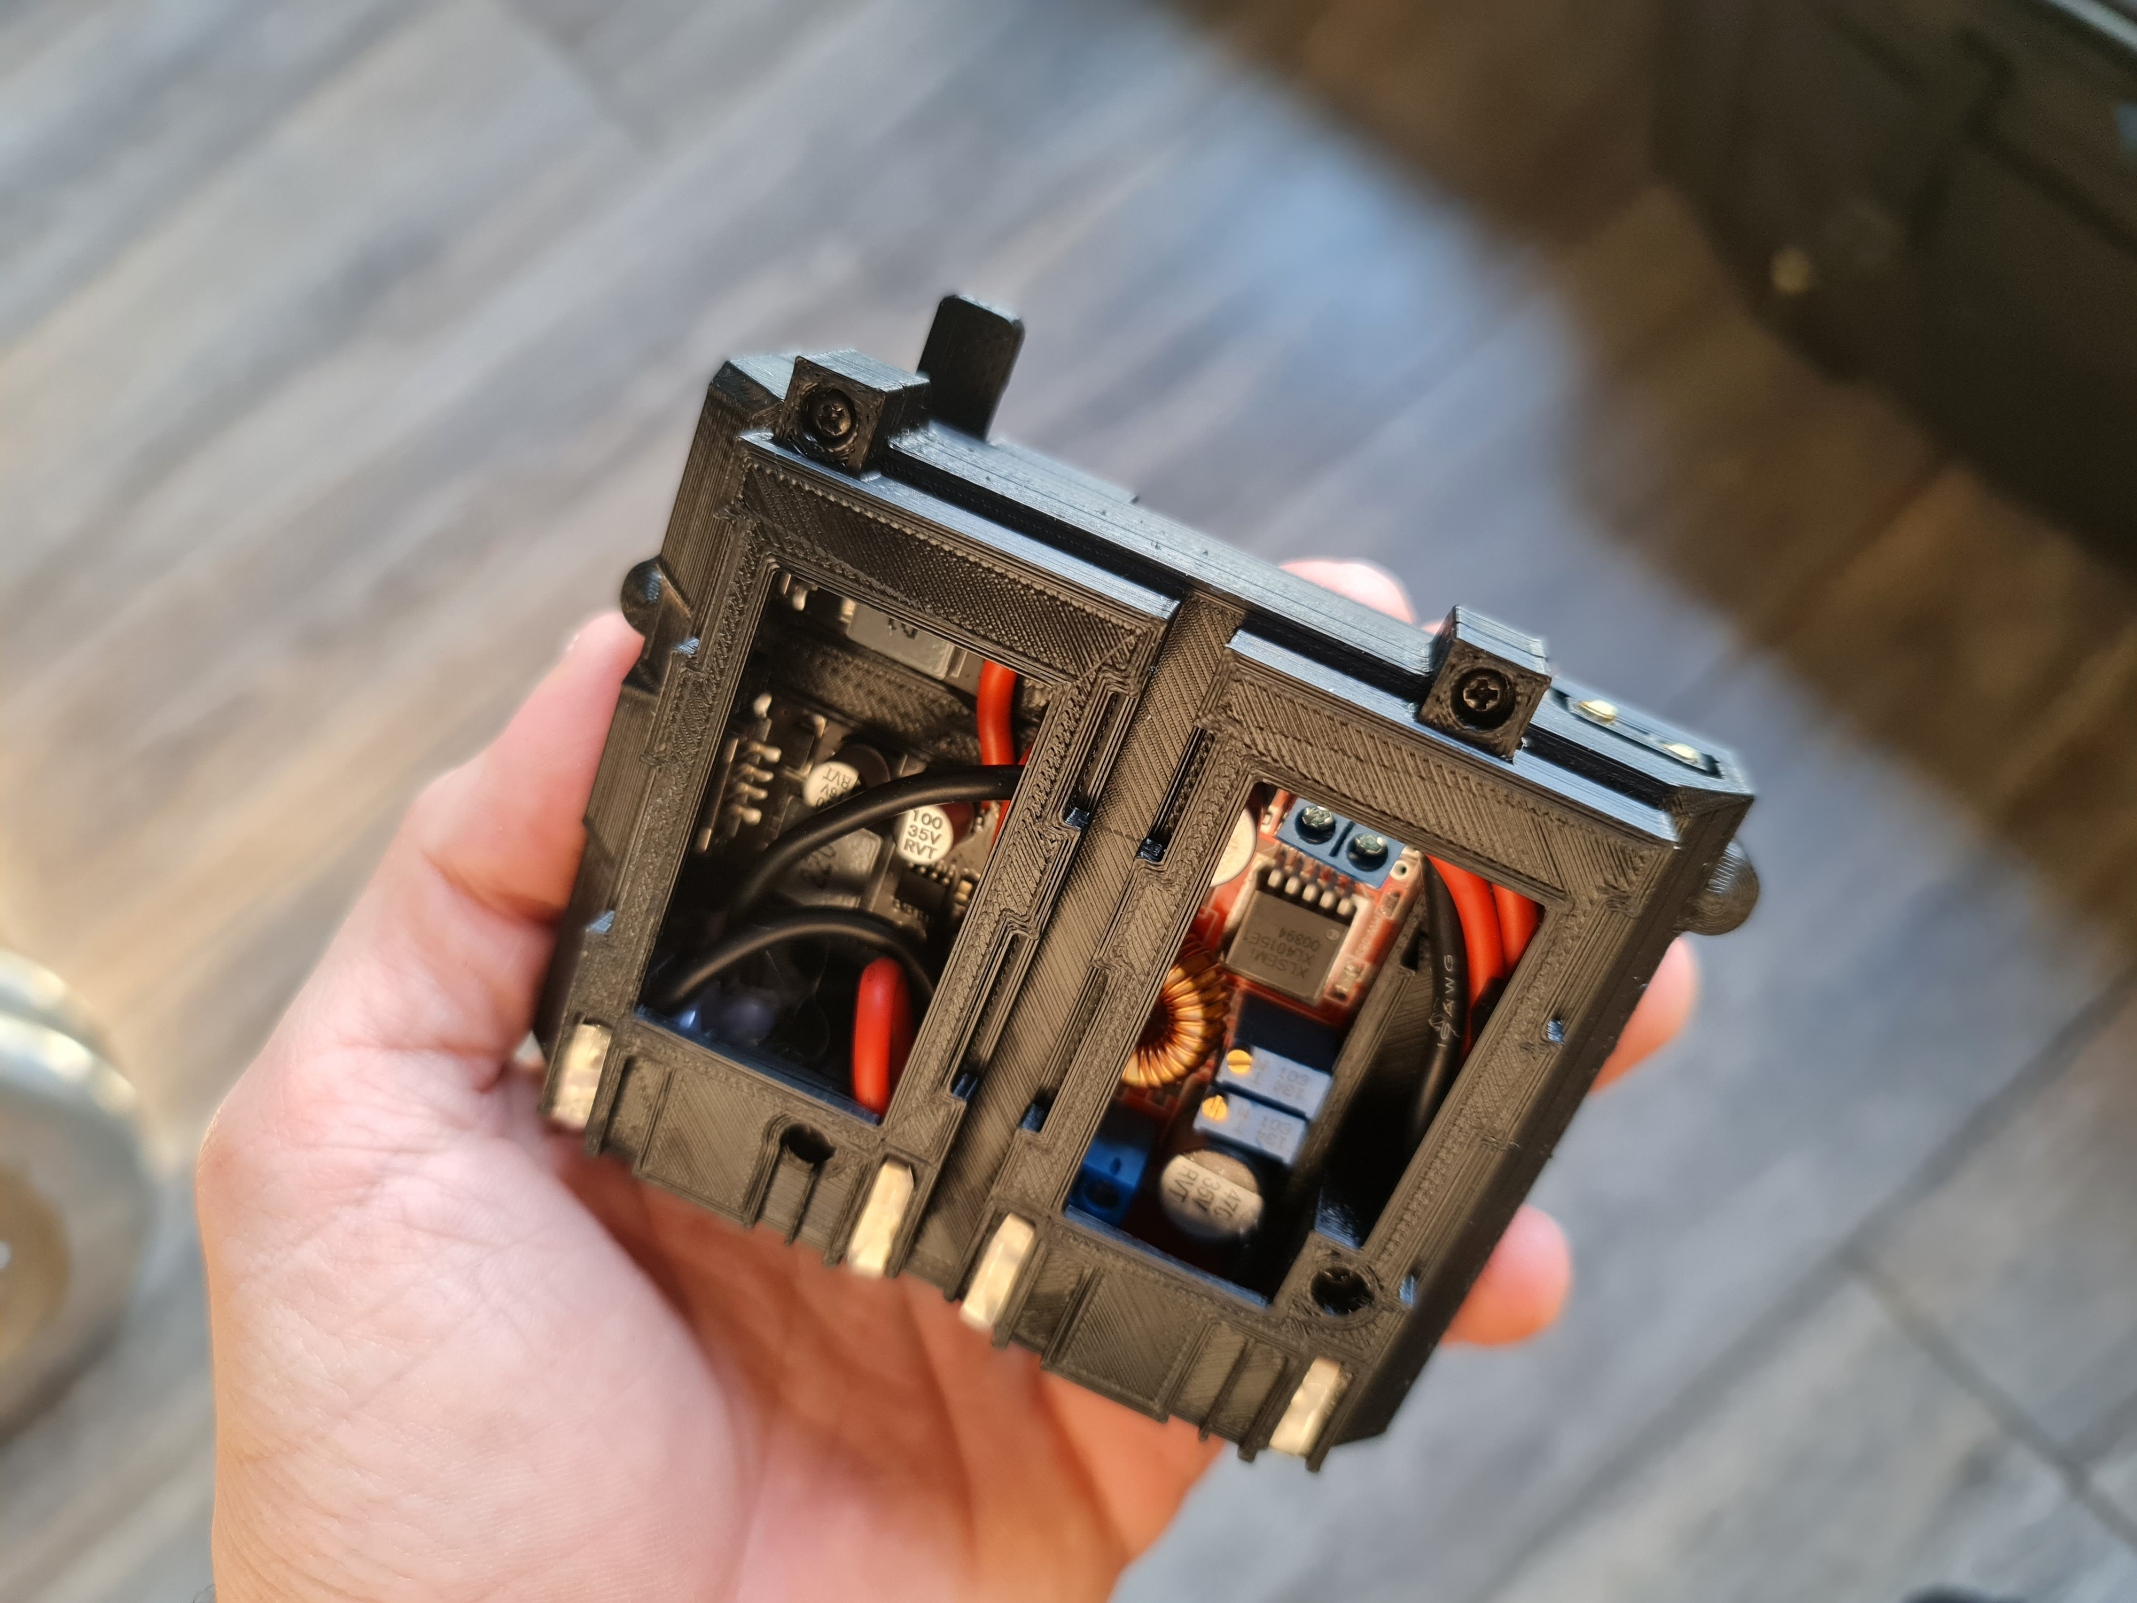
Building on from the adapter…
After making and slightly refining this basic mount, I went ahead and made a dual v-mount/Sony NP-F adapter with 2 x USB and 2 x DTAP outs. The Sony NP-F part of it was on its own circuit and did not benefit from any of the accessory ports, as it wouldn’t handle the load. It was more of a backup in case you’d ever run out of v-mount batteries.
Although I’m not anticipating this to be of much use to that many people, I’m going to keep toying with this design and post up instructions and a parts list once I feel it’s decent enough to share!